When it comes to car maintenance, the condition of your vehicle’s bumper plays a crucial role not only in aesthetics but also in safety. Bumpers are designed to absorb impact during collisions, protecting both the car and its occupants. However, they are often vulnerable to damage from minor accidents, scraping against concrete barriers, or even being hit by road debris. Recognizing the type of damage your bumper has sustained is the first step to restoring it to its original state.
Many car owners feel overwhelmed by the idea of bumper repair, thinking it requires professional help or costly expenses. In reality, with the right tools and techniques, you can successfully conduct a DIY repair. This guide will provide you with a step-by-step approach to tackle common bumper issues, enabling you to save time and money while ensuring your vehicle looks and performs at its best.
From minor scratches to more significant dents, understanding how to assess the extent of the damage is essential before proceeding with any repair method. In this article, we will cover various repair techniques suited for different types of bumper materials, equipping you with the knowledge and confidence needed to undertake this project on your own.
Identifying Common Types of Bumper Damage
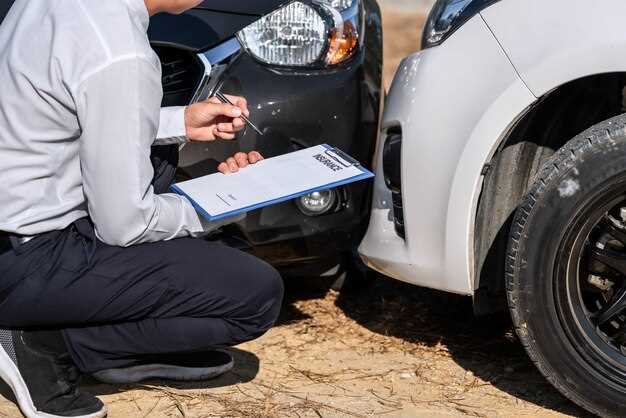
Bumper damage can occur due to various accidents, including minor collisions, parking mishaps, and weather conditions. Recognizing the type of damage is crucial for effective repairs and maintaining the vehicle’s appearance. Here are some common types of bumper damage to look out for:
Dents: Dents are one of the most frequent types of bumper damage. They occur when an object strikes the bumper with force, resulting in a noticeable indentation. Depending on the severity, dents may be shallow and easily repairable or deep, requiring professional attention.
Scratches: Scratches can range from superficial marks to deeper abrasions that penetrate the paint layer. They often result from brushes with other vehicles, debris on the road, or contact with rough surfaces. While superficial scratches may be fixed with a simple touch-up paint application, deeper scratches might need sanding and repainting for a seamless finish.
Cracks: Cracks typically form due to significant impact or stress on the bumper material. Unlike dents and scratches, cracks can compromise the structural integrity of the bumper, making them more serious. Repairing cracks often involves filling them with plastic resin or replacing the entire bumper if the damage is extensive.
Chips: Chips are small areas where the bumper paint has been knocked off, exposing the underlying material. These might be caused by flying debris or small collisions. Repairing chips usually involves applying touch-up paint to prevent rust and further deterioration.
Loose Bumper: Sometimes the bumper may become loose due to broken clips or mounting points. This not only affects the aesthetics of the vehicle but can also pose safety risks. Addressing a loose bumper may involve checking and replacing the necessary hardware or clips to secure it properly.
Identifying the specific type of bumper damage is the first step towards effective repair. Taking prompt action will help maintain your car’s value and appearance while ensuring safety on the road.
Step-by-Step Process for Repairing Scratches and Dents

Repairing scratches and dents on your bumper is an achievable DIY task that can save you money and restore the appearance of your vehicle. Follow these detailed steps for an effective repair process.
First, assess the damage on the bumper. Clean the affected area thoroughly with soap and water to remove dirt and grime. Dry it completely before proceeding to the next step.
For shallow scratches, use fine-grit sandpaper (around 2000-grit) to gently sand the scratched area. Be careful not to sand too deeply; you just want to level the surface. After sanding, wipe the area with a clean cloth to remove any dust.
Next, if the scratch is more pronounced, you will need a scratch repair kit. Apply the filler according to the product instructions. Use a small putty knife to spread the filler evenly over the scratch, allowing it to slightly overfill the area. Let it cure for the time specified in the instructions.
Once the filler has dried, sand it down using fine-grit sandpaper until it is smooth and flush with the surrounding bumper surface. Again, wipe clean to prepare for painting.
For dents, use a hairdryer or heat gun to warm the area for a few minutes. Then, apply a plunger directly over the dent and pull firmly to pop it out. Repeat this process until the dent is fully removed.
After addressing both scratches and dents, it’s time to paint. Find a color-matching paint for your bumper and apply it using a spray can or paintbrush, depending on the size of the repair. Be sure to apply multiple light coats rather than one heavy coat to avoid drips.
Finally, let the paint cure completely. If necessary, apply a clear coat for added protection and shine. After everything is dry, your bumper should look as good as new, demonstrating the effectiveness of DIY repair efforts.
Recommended Tools and Materials for DIY Bumper Repair

When entering the world of DIY bumper repair, having the right tools and materials is crucial for a successful outcome. Here is a list of essential items you will need to effectively repair your car’s bumper.
First, gather your basic tools, which include a socket set, screwdrivers, and pliers. A socket set will help you remove any bolts or screws attaching the bumper to the vehicle. Screwdrivers, both flathead and Phillips, are necessary for accessing various components, while pliers can assist in pulling off clips or harnesses.
Next, invest in a quality plastic repair kit. These kits typically contain plastic welding tools, adhesives, and filler materials designed specifically for bumper repairs. The plastic welding tool allows you to melt and fuse broken plastic sections, ensuring a durable repair. Filler materials will help smooth out any imperfections.
Don’t forget about sandpaper and a sanding block. Fine and coarse grits are both needed to prepare the surface for painting. Sanding aids in achieving a smooth finish, which is vital for the final look of your repair.
Additionally, you will require paint and a clear coat that match your vehicle’s color. This step is essential for blending the repaired area with the rest of the bumper. Consider purchasing a spray gun or aerosol cans for even application.
Lastly, protective equipment is important. Wear gloves to protect your hands from chemicals and sharp edges, along with safety goggles to shield your eyes from dust and debris during the repair process.
By assembling these tools and materials, you will be well on your way to completing your DIY bumper repair effectively and efficiently.


