


Maintaining the health of your vehicle’s transmission is crucial for ensuring its longevity and optimal performance. One of the key aspects of transmission maintenance is regularly checking and replacing the fluid. This essential task helps prevent potential transmission issues that can arise from dirty or low fluid levels.
Transmission fluid plays a vital role in lubricating the moving parts within the transmission, facilitating smooth gear shifts, and cooling the system. Over time, this fluid can become contaminated or degrade in quality, leading to decreased efficiency and potential damage. Therefore, understanding how to check and replace your transmission fluid is not only a skill that every vehicle owner should acquire, but also a necessary measure in protecting your investment.
In this guide, we will explore the step-by-step process of checking your vehicle’s transmission fluid levels, as well as provide detailed instructions on how to properly replace it when needed. By following these guidelines, you can ensure that your vehicle operates smoothly and efficiently for years to come.
Identifying the Right Transmission Fluid for Your Vehicle
Choosing the correct transmission fluid is crucial for the optimal performance and longevity of your vehicle’s transmission system. Not all fluids are created equal; therefore, identifying the appropriate type tailored to your vehicle’s specifications is a vital part of maintenance.
Firstly, consult your vehicle owner’s manual. This document typically contains specific recommendations regarding the type of fluid required, including viscosity and performance standards. Manufacturers often specify a certain designation, such as ATF+4 or Dexron VI, which indicates compatibility with their vehicles.
Another important factor is to consider the age and type of your transmission. Automatic and manual transmissions require different fluid formulations. Additionally, certain newer models might utilize synthetic transmission fluids that offer better protection and efficiency compared to traditional options.
When purchasing transmission fluid, pay attention to the labels and ensure the product matches the specifications outlined in your owner’s manual. Look for seals or certifications from organizations like the Society of Automotive Engineers (SAE) or American Petroleum Institute (API) to ensure quality and compatibility.
Lastly, if in doubt, consult with a professional mechanic. They can provide reliable advice and help you select the right fluid that suits your vehicle’s needs, thereby preventing potential issues that could arise from using an incorrect fluid.
Step-by-Step Guide to Checking Transmission Fluid Levels
Checking your vehicle’s transmission fluid is an essential part of regular maintenance that helps ensure your transmission operates smoothly. Follow these steps to check your transmission fluid levels accurately.
First, park your vehicle on a level surface and turn off the engine. Allow the vehicle to sit for a few minutes to ensure that the fluid settles. Once the vehicle is at rest, locate the transmission dipstick, which is usually found near the rear of the engine bay.
Next, pull out the dipstick and wipe it clean with a lint-free cloth or paper towel. This initial step removes any fluid that may have splashed onto the stick, providing an accurate reading of the fluid level.
Insert the dipstick back into its tube completely, then remove it again to check the fluid level. Observe the markings on the dipstick to determine if the fluid level falls within the recommended range, usually indicated by “Full” and “Add” or “Low” marks.
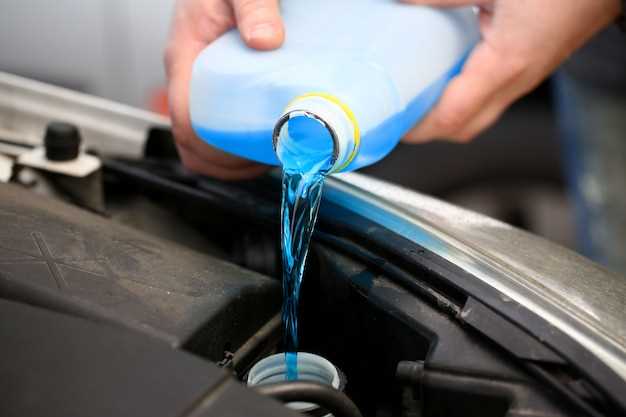
If the fluid level is below the recommended mark, you will need to add the appropriate transmission fluid. Consult your owner’s manual to identify the right type of fluid for your vehicle. Use a funnel to pour in the fluid gradually, avoiding overfilling.
After adding fluid, recheck the level with the dipstick to ensure it is now within the appropriate range. If the fluid appears dark, has a burnt smell, or contains debris, it may be time for a fluid change, and you should seek professional assistance.
Finally, replace the dipstick securely and close the hood. Regularly checking your transmission fluid will help maintain the health of your transmission and prolong your vehicle’s lifespan.
Procedure for Draining and Replacing Transmission Fluid
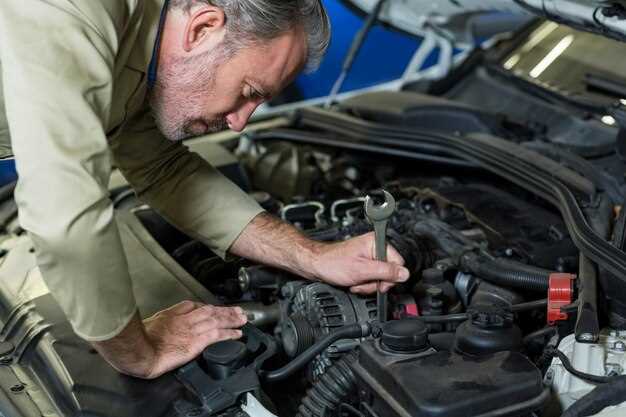
To effectively drain and replace your vehicle’s transmission fluid, you’ll need to follow a series of steps to ensure a proper and clean process. Begin by gathering the necessary tools, including a wrench set, a drain pan, a funnel, and the appropriate transmission fluid for your vehicle.
Start by parking your vehicle on a level surface and engaging the parking brake. Allow the engine to run for a few minutes, then turn it off. This step helps warm up the fluid, making it easier to drain. Once the engine is off, lift the vehicle using jack stands if necessary for better access to the transmission pan.
Locate the transmission drain plug or the pan. Carefully remove the drain plug or the transmission pan bolts using your wrench. Position the drain pan beneath the transmission to catch the old fluid as it drains out. Allow the fluid to completely empty, which may take several minutes.
Once the old fluid is drained, inspect the drain plug and pan for metal shavings or debris, which could indicate transmission issues. Clean the drain plug and replace it securely. If replacing the entire transmission fluid, you will need to remove the old filter as well, if your transmission system has one. Install a new filter according to the manufacturer’s specifications.
Now, it’s time to refill the transmission with fresh fluid. Using a funnel, pour the new transmission fluid into the dipstick tube or through the fill hole, as appropriate for your vehicle. Refer to your owner’s manual for the exact type and quantity of fluid required.
Start your vehicle and allow it to idle for a few minutes. Shift through all the gears and let the engine run for a short duration to circulate the new fluid. Check for any leaks at the drain plug or filter area. After a brief test drive, recheck the fluid level through the dipstick, adding more fluid as necessary.
Finally, ensure all components are reassembled correctly, lower the vehicle, and dispose of the old transmission fluid responsibly at a recycling center. With this procedure completed, your vehicle’s transmission should operate smoothly with fresh fluid, promoting better performance and longevity.

