


Dealing with a flat tire can be a frustrating experience, especially when it happens unexpectedly. However, knowing how to handle tire repairs on your own can save you time and money. Being prepared and understanding the steps involved can make a significant difference when it comes to fixing that flat tire in your own garage or driveway.
In this guide, we will explore safe steps to effectively repair a flat tire at home, ensuring you have the right tools and knowledge at your disposal. Whether you encounter a small puncture or a more significant issue, having a clear process in mind will not only boost your confidence but also keep you safe during the repair.
From assessing the extent of the damage to sealing the tire properly, each step is crucial. By following these instructions, you’ll learn how to manage the repair efficiently, which helps extend the lifespan of your tire while ensuring your vehicle remains safe on the road. Let’s get started on how to confidently tackle that flat tire!
Assessing the Damage: Determining Repairability of Your Flat Tire
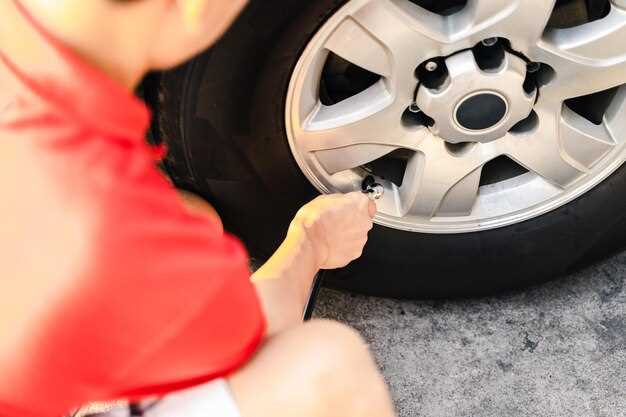
When facing a flat tire in an emergency situation, the first step is to assess the damage to determine if repair is feasible. Start by inspecting the tire for punctures. A common indication of a puncture is a visible object, such as a nail or screw, embedded in the tread. If the damage is located on the tread, it is often repairable, provided the puncture is smaller than 1/4 inch in diameter.
Next, examine the sidewalls for cracks, bulges, or cuts. Damage in these areas generally suggests that the tire is not safe to repair and should be replaced. Sidewall damage can compromise the tire’s structural integrity and lead to blowouts, which are particularly dangerous during travel.
Another crucial factor is the age and wear of the tire. Look for the tread depth by using the penny test; if you can see the top of Lincoln’s head, the tire may not have sufficient tread for safe operation. Additionally, tires older than six years may deteriorate even without visible damage, reducing their overall safety.
Keep in mind that some punctures may not be repairable if they are too close to the sidewall or if multiple punctures are present. Evaluating these criteria can help you make an informed decision about whether to repair or replace your flat tire, ensuring safety on the road.
Tools and Materials Needed for a Successful Tire Repair
Repairing a flat tire in an emergency situation requires specific tools and materials to ensure a safe and effective fix. First and foremost, you will need a jack to lift the vehicle off the ground. A reliable jack and jack stands are crucial for safely supporting the car while you work on the tire.
Next, a tire iron or lug wrench is essential for removing and tightening the lug nuts that hold the tire in place. It is advisable to choose a tire iron with a comfortable grip and sufficient leverage to avoid straining yourself.
A tire repair kit is pivotal for addressing punctures. This kit typically includes tire plugs, a reamer, and a plugging tool. Make sure the kit is well-stocked and in good condition, as it will allow you to effectively seal small holes caused by nails or sharp objects.
Additionally, having a portable air compressor or a tire inflator on hand is important for reinflating the tire after repair. This ensures that the tire reaches the proper pressure for safe driving.
Don’t forget about a pair of safety gloves to protect your hands during the repair process, as well as a flashlight or work light for visibility, especially if you encounter the flat tire at night or in low-light conditions.
Lastly, a small container of dish soap mixed with water can be useful for identifying leaks. Applying this mixture to the tire surface will help you spot any escaping air bubbles, confirming the effectiveness of your repair.
Step-by-Step Guide to Repairing a Flat Tire Safely

Repairing a flat tire at home can be an essential skill, especially in an emergency. Follow these steps to ensure a safe and effective repair process.
Step 1: Gather Tools and Materials
Before starting, collect the necessary tools: a tire patch kit, tire lever, air compressor or manual pump, and safety gloves. Having everything ready will streamline the repair process.
Step 2: Find a Safe Working Environment
Choose a flat, stable surface to work on. Ensure the area is well-lit and away from traffic. Activate your vehicle’s hazard lights to alert others that you are engaged in roadside repair.
Step 3: Remove the Tire
Loosen the lug nuts while the tire is still on the ground. Use a wrench for this task. Once loosened, elevate the vehicle using a jack and remove the lug nuts completely. Take off the flat tire carefully and place it on a suitable surface.
Step 4: Inspect the Tire
Examine the tire for punctures, cuts, or other damages. A thorough inspection will help you determine if the tire can be repaired or if it needs replacement. If you locate a puncture, note its size and position.
Step 5: Prepare the Puncture Area
Clean the area around the puncture using a scraper from your patch kit. This will ensure the patch adheres properly. Allow the surface to dry completely before applying any patch.
Step 6: Apply the Patch
Follow the instructions provided with your patch kit. Place the patch over the puncture and press firmly to ensure a tight seal. Allow it to cure for the recommended time to achieve maximum effectiveness.
Step 7: Reinstall the Tire
Once the patch is secure, place the tire back onto the vehicle. Hand-tighten the lug nuts in a star pattern to ensure even pressure, then lower the car and tighten the nuts fully with a wrench.
Step 8: Inflate the Tire
Use an air compressor or manual pump to inflate the tire to the manufacturer’s recommended pressure. Check the tire pressure gauge to ensure accuracy. This step is crucial for safe driving after the repair.
Step 9: Test the Repair
After the repair, take a short drive to test the tire. Listen for any unusual sounds and pay attention to how the vehicle handles. If everything feels right, the repair was successful.
Step 10: Regular Maintenance
Regularly check your tires for wear and tear to avoid future emergencies. Maintaining proper tire pressure and doing routine inspections will help extend the life of your tires and enhance safety on the road.

