


When it comes to vehicle maintenance, troubleshooting electrical issues can often lead to a blown fuse. Fuses play a critical role in safeguarding your vehicle’s electrical systems by preventing overloads and short circuits. Understanding how to identify and replace a blown fuse can save you time and money, making it an essential skill for any vehicle owner.
In this guide, we’ll walk you through the straightforward process of changing a blown fuse. We’ll cover the steps involved, the tools you’ll need, and essential tips to ensure you perform the task safely and effectively. With just a few simple actions, you can restore functionality to various components of your vehicle, from headlights to power windows.
By being proactive and familiarizing yourself with the fuse panel in your vehicle, you can troubleshoot issues more efficiently and enhance your overall driving experience. Whether you’re facing an unexpected electrical failure or simply want to equip yourself with basic automotive knowledge, understanding how to replace a fuse is a critical first step.
Identifying a Blown Fuse: Signs and Symptoms
When troubleshooting electrical issues in your vehicle, recognizing a blown fuse is crucial. A blown fuse typically signals that an electrical circuit is overloaded or shorted, leading to various symptoms that can help you identify the problem.
One of the most common signs of a blown fuse is the failure of electrical components to function. For instance, if your headlights, dashboard lights, or radio suddenly stop working, it could indicate that the fuse linked to these systems has failed. In certain cases, other systems may still operate, highlighting the need for specific troubleshooting.
Another symptom to watch for is the presence of a burnt smell or visible damage around the fuse box. This can be a clear indication that a fuse has blown, especially if you notice melted plastic or discoloration in the fuse holder area. Additionally, if your vehicle’s electrical systems exhibit flickering or intermittent operation, it may suggest a weak or blown fuse that requires immediate attention.
Listening for unusual sounds can also provide clues. If you hear a popping noise when using certain electrical devices, this could mean a fuse has blown due to a sudden surge of current. Keeping an ear out for these signs can assist in diagnosing electrical faults effectively.
Finally, you can conduct a visual inspection of the fuses themselves. Remove the suspected fuse and examine the filament inside. A broken filament indicates that the fuse has blown. This type of inspection is a fundamental step in troubleshooting electrical problems within your vehicle.
Locating Your Vehicle’s Fuse Box for Easy Access
To change a blown fuse in your vehicle, the first step is to locate the fuse box. Understanding the position of this critical component can save you time during troubleshooting and ensure that you have ready access when needed.
Fuses are commonly located in two main areas within vehicles: the engine compartment and the interior cabin. The engine compartment fuse box is typically found near the battery, secured under a plastic cover. You may need to release clips or screws to access it. The cabin fuse box usually resides under the dashboard, either on the driver’s side or passenger’s side. In some vehicles, it can be found behind a panel or glove compartment.
To find the exact location of your vehicle’s fuse box, refer to the owner’s manual. This manual provides specific diagrams and descriptions, ensuring you can quickly identify the fuse box’s location. If a manual is unavailable, a general search online for your vehicle make and model can yield helpful resources.
Once the fuse box is located, take a moment to familiarize yourself with the fuse layout. Many fuse boxes have a diagram on the cover or nearby that indicates the function of each fuse. This information is vital for effective troubleshooting, particularly if multiple fuses are blown.
In conclusion, efficiently locating your vehicle’s fuse box is essential for maintaining your vehicle’s electrical system. Knowing where to find it helps you respond promptly when issues arise and simplifies the process of replacing blown fuses.
Step-by-Step Guide to Replacing the Blown Fuse Safely

Replacing a blown fuse is a straightforward process that can save you from costly repairs. Follow these detailed steps to ensure a safe and effective replacement.
1. Identify the Blown Fuse: Start by locating the fuse box in your vehicle. Refer to the owner’s manual if necessary to find its exact position. The fuse box is usually located under the dashboard or in the engine compartment.
2. Power Off the Vehicle: Before proceeding, ensure that your vehicle is turned off. This is crucial for your safety and to prevent any electrical surges while you work on the fuse.
3. Remove the Fuse Box Cover: Carefully remove the cover of the fuse box. Most covers can be pulled off or lifted, but some may require a small screwdriver to detach.
4. Locate the Problematic Fuse: Check the fuse diagram typically found on the cover or in the owner’s manual to identify which fuse corresponds to the malfunctioning component. Inspect each fuse visually for any signs of damage or breakage.
5. Test the Fuse: For accurate troubleshooting, use a multimeter to test the fuse. Set it to continuity mode and touch the probes to each end of the fuse. If there is no beep or reading, the fuse is confirmed blown.
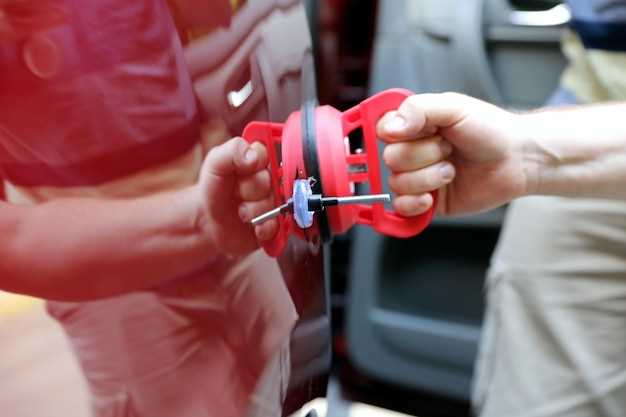
6. Remove the Blown Fuse: Utilize a fuse puller or a pair of needle-nose pliers to carefully extract the blown fuse from its socket. Take care not to damage any surrounding fuses or wiring.
7. Install the New Fuse: Select a new fuse that matches the amperage rating of the blown one. Insert the new fuse securely into the socket, ensuring it fits snugly and is aligned properly.
8. Replace the Fuse Box Cover: Once the new fuse is in place, put the cover back on the fuse box, ensuring it clicks into position securely.
9. Test the Repair: Start your vehicle and check to see if the electrical component is functioning properly. If the issue persists, further troubleshooting may be necessary.
10. Dispose of the Blown Fuse Properly: Dispose of the blown fuse in accordance with local regulations, as it is considered electronic waste.
By following these steps, you can safely and effectively replace a blown fuse in your vehicle, ensuring that it runs smoothly and efficiently.

