


The radiator cap plays a crucial role in maintaining the pressure within the cooling system of your vehicle. A properly functioning cap helps keep the coolant at the right temperature and ensures that the system operates efficiently. However, like any component, the radiator cap can wear out over time, leading to potential problems if not addressed promptly. Recognizing the signs of a failing radiator cap is essential for preventing overheating and costly repairs.
When the radiator cap begins to fail, it may lose its ability to maintain the necessary pressure in the cooling system. This loss of pressure can result in coolant boiling over or leaking, which could lead to a variety of issues, including engine damage. Understanding the symptoms of a defective cap can help you take action before a small problem escalates into a major malfunction.
In this article, we will explore the key indicators of a failing radiator cap. By being vigilant and knowledgeable about these signs, you can ensure your vehicle remains in optimal condition and avoid unexpected breakdowns on the road.
Recognizing Symptoms of Pressure Loss in the Cooling System
Identifying pressure loss in the cooling system is crucial for maintaining the overall health of an engine. A failing radiator cap can be a primary culprit in this scenario. To effectively recognize the symptoms, one must observe the performance of the vehicle under various conditions.
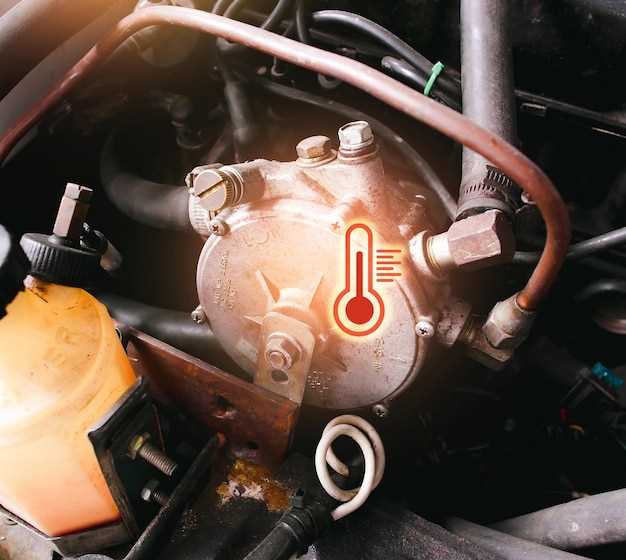
One common indicator of pressure loss is overheating. If the engine temperature gauge frequently rises into the red zone, it signifies that the coolant is not being effectively pressurized. This pressure is essential for raising the boiling point of the coolant, enabling it to absorb more heat without vaporizing. A malfunctioning cap may fail to maintain this necessary pressure, leading to inefficient cooling.
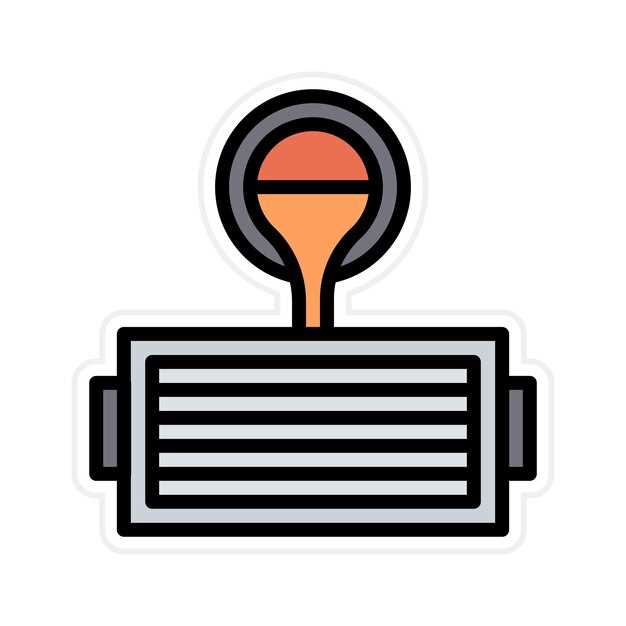
Another symptom to watch for is coolant loss. If you frequently have to top off the coolant reservoir, it may suggest that the system is not retaining pressure properly. A radiator cap that is unable to seal correctly may allow coolant to escape through the overflow, leading to noticeable fluid loss and potential leaks in the system.
Watch for signs of steam or coolant leaks. If you notice steam emerging from under the hood or puddles of coolant on the ground, these can be clear signals of pressure loss. A damaged cap may not hold the necessary pressure, exacerbating these issues and possibly leading to more severe engine damage.
Observe any changes in the performance of the heater. A well-functioning heating system relies on a proper pressure balance. If the heater is blowing cold air, it could indicate that the cooling system is not pressurizing correctly due to a failing radiator cap.
Lastly, listen for unusual sounds. Gurgling or bubbling noises within the radiator can be indicative of air trapped in the system due to pressure loss. A compromised radiator cap may allow air to enter, disrupting the flow of coolant and leading to inefficient engine cooling.
Awareness of these symptoms can lead to timely intervention, preventing further complications in the cooling system and ensuring the longevity of the engine.
Inspecting the Radiator Cap for Physical Damage or Wear
The radiator cap plays a crucial role in maintaining the cooling system’s pressure, which is essential for optimal vehicle performance. Regular inspections are vital to ensure that the cap functions correctly and does not contribute to coolant loss.
Begin by visually examining the radiator cap for any signs of physical damage. Look for cracks, chips, or deformation in the rubber seal and the cap body. These imperfections can compromise the ability of the cap to create a tight seal, resulting in pressure loss and potential overheating.
Next, check the condition of the rubber seal. A worn or hardened seal may not provide adequate pressure retention, leading to coolant escaping. Gently press the seal with your finger; it should feel pliable and resilient. If it appears brittle or permanently deformed, replacement is necessary.
Also, consider inspecting the threads on the cap and the radiator neck. Any corrosion or buildup can impede the proper fit of the cap, risking further coolant loss. Ensure these surfaces are clean and free from debris.
In summary, a thorough inspection of the radiator cap for physical damage or wear is essential in preventing issues like pressure loss and coolant leaks. Regular checks can help maintain your vehicle’s cooling efficiency and avoid costly repairs.
Testing Coolant Pressure to Diagnose Cap Functionality
To determine if a radiator cap is functioning correctly, testing the coolant pressure is essential. A properly sealed cap maintains the necessary pressure in the cooling system, preventing overheating and coolant loss. If the pressure drops below the recommended levels, it can indicate a malfunctioning cap that may need replacement.
Begin the testing process by allowing the engine to cool completely. Once the engine is cool, remove the radiator cap carefully. Next, use a pressure tester designed for coolant systems. Attach the pressure tester to the radiator neck, ensuring it is sealed properly. This tool will help simulate the pressure that the cap is supposed to maintain.
Once the tester is in place, pump it up to the recommended pressure specified by your vehicle manufacturer. Observe the gauge closely. If the pressure holds steady, the radiator cap is functioning correctly. However, if the pressure begins to drop significantly, this indicates a loss of pressure due to a faulty cap. In such cases, the cap may be allowing coolant to escape, which can lead to engine overheating and further damage.
Furthermore, after testing, visually inspect the radiator cap for any signs of wear, cracks, or damage. Even if the pressure test appears normal, a compromised cap can be the source of slow leaks and subsequent coolant loss. Replacing a faulty cap can restore the integrity of the entire cooling system, ensuring optimal engine performance.

